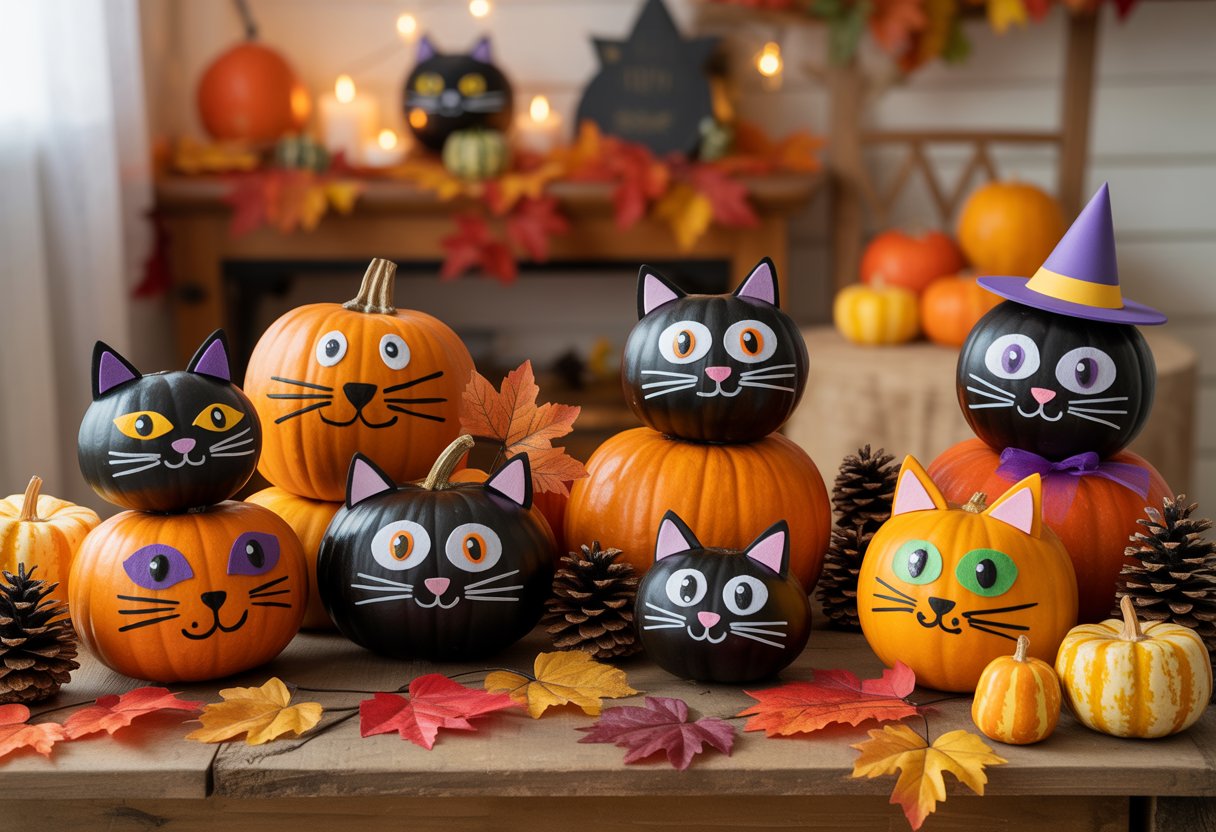
Halloween and fall are the perfect excuses to get creative with pumpkins. Why stick to the usual jack-o’-lantern when you can mix in some cat-inspired designs?
Adding a playful twist with cats feels festive and a bit personal. You can turn simple pumpkins into fun, stylish, or even spooky cat crafts that fit right into your seasonal décor.
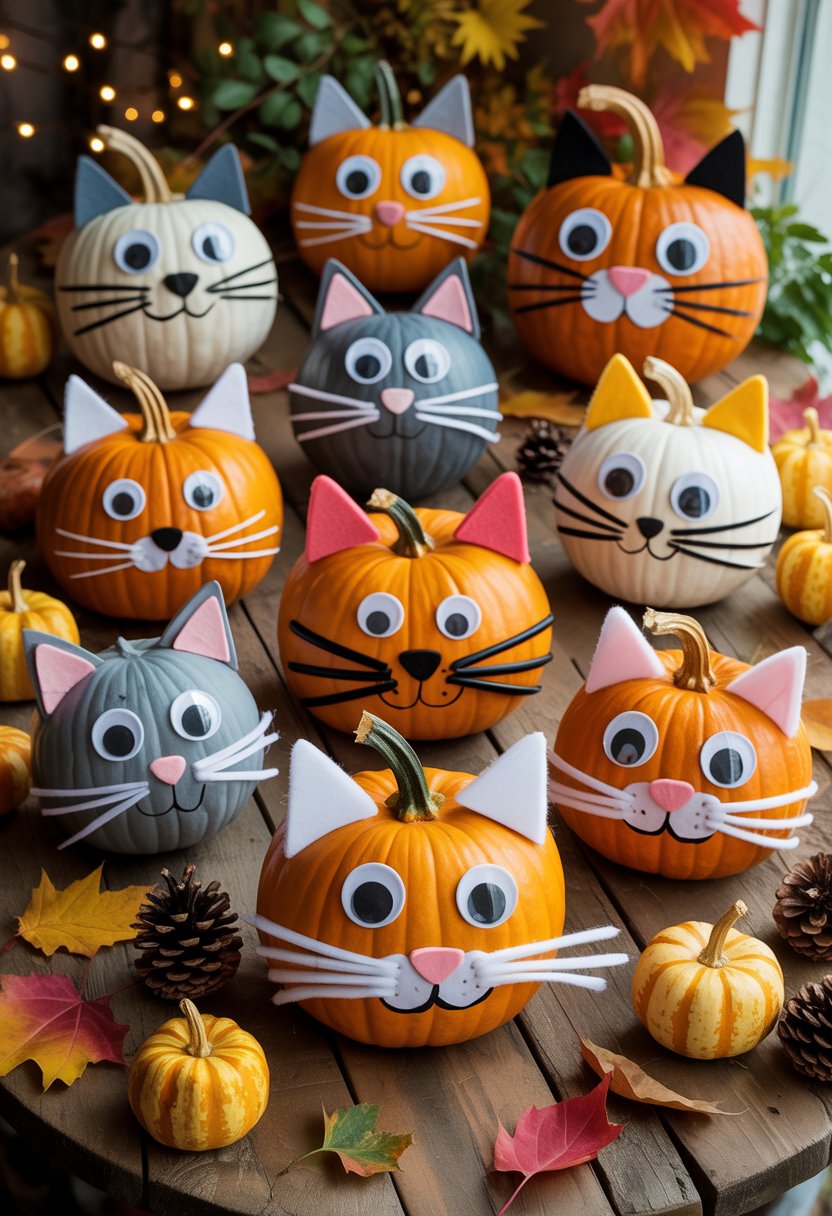
You don’t need fancy tools or advanced skills for these projects. Carving, painting, or even no-carve options let you try out different styles that match your mood or your space.
Whether you want a quick craft or something bold for a centerpiece, these ideas help you bring a little Halloween charm into your home.
Carve a silhouette of a black cat sitting on a pumpkin’s side for a spooky shadow effect
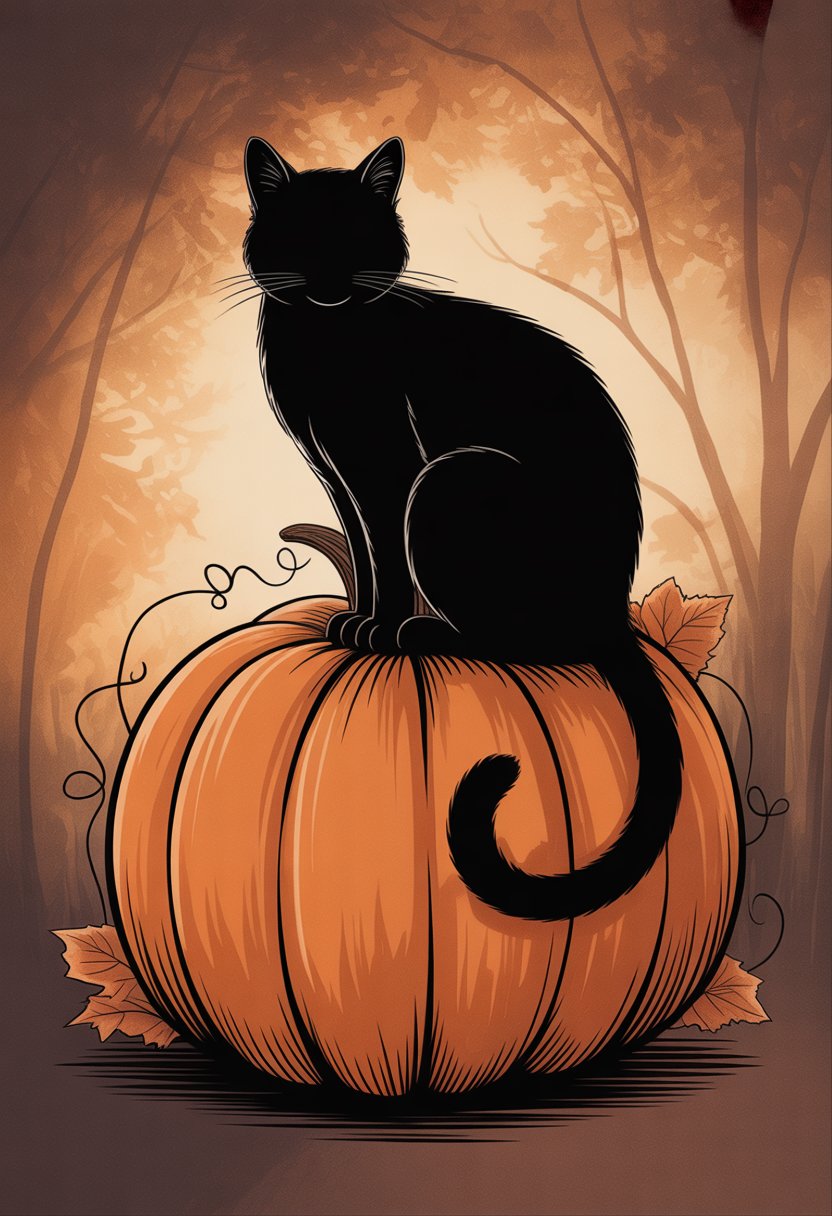
Pick out a pumpkin with a smooth surface and enough space for your design. Medium or large pumpkins work best for detailed shapes like a cat.
Print or sketch a simple outline of a sitting cat. Tape it to your pumpkin and trace the shape by poking small holes along the lines with a pin or carving tool.
Use a small, sharp knife or a pumpkin carving tool to cut out the silhouette. Take your time around the tail and ears so the shape looks crisp.
Keep the design simple; it pops more when lit. Drop a candle or LED light inside and turn off the lights. The cat shape glows against the pumpkin’s surface, creating a cool shadow effect.
Want to mix it up? Adjust the size of the cat or add a curved tail or pointed ears. If you’re after a cleaner look, thin the inside wall where the cat sits so the light shines through better.
Paint pumpkins matte black and add felt cat ears and whiskers for a no-carve cat pumpkin
Grab some matte black paint and cover your pumpkin with two coats. This gives a nice, even finish and hides any streaks.
Let it dry fully before you start adding details. Cut two triangles from black felt for the ears, then add a smaller pink triangle inside if you like.
Glue the ears to the top of the pumpkin with hot glue or craft glue. For whiskers, cut thin strips of felt and glue them near the center.
Paint or glue on a small nose, then use a white paint pen to draw eyes and a mouth. This project works with real or faux pumpkins—faux ones stick around for future Halloweens.
It’s an easy way to decorate without carving, and it’s safe for kids to help. You just need paint, felt, glue, and a bit of patience.
Use pumpkin seeds to create kitty faces on mini pumpkins as a fun kids’ craft
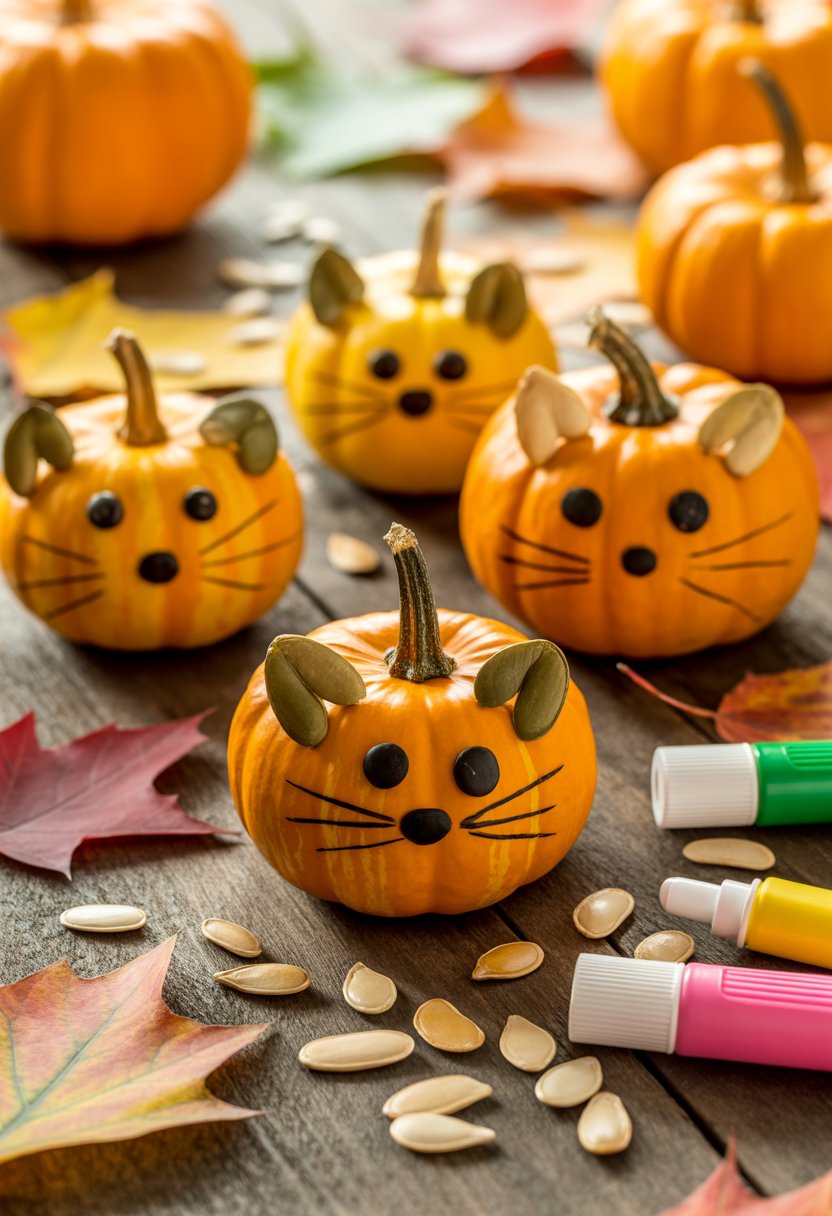
Turn plain mini pumpkins into playful kitty faces with pumpkin seeds and glue. This one’s perfect for kids—small pieces, easy steps.
Clean and dry the seeds so they don’t slip around. Leave them natural or paint them black, white, or pink to match your style.
Use seeds as ears, whiskers, or even eyes. Place two upright on top for ears, then glue a few sideways for whiskers.
Add details with markers or paint—a triangle nose and round eyes finish the look. Keep supplies simple and let kids get creative.
Set out extra seeds, markers, and paint so everyone can make their own version. It’s a fun way to keep little hands busy.
Make velvet pumpkins with attached cat ears for a soft, elegant fall decoration
Add cat ears to velvet pumpkins for a playful, polished fall look. The soft fabric makes them feel cozy, and the ears give a Halloween vibe.
Make or buy small velvet pumpkins. If you’re making them, you’ll need velvet fabric, stuffing, and a stem—real dried pumpkin stems look extra nice.
Cut simple ear shapes from black felt or matching fabric. Attach them near the top so they stand upright.
Adjust ear size depending on how bold you want it. These work well for table centerpieces, shelves, or a mantel.
Try making a set in different sizes for variety. Add tiny details like a felt nose or whiskers if you want them to stand out more.
Velvet cat pumpkins are quick to put together and easy to customize. They blend with fall décor but still show off a bit of Halloween style.
Carve simple cat eyes and nose shapes on pumpkins for an easy beginner project
If you’re new to pumpkin carving, try starting with a cat face. You don’t need fancy tools or stencils—basic shapes look great and keep things easy.
Draw two round or almond-shaped eyes on your pumpkin. Keep them big enough to cut out, but not so big that the pumpkin gets flimsy.
Add a small triangle or oval nose. You can carve thin whisker lines if you’re feeling ambitious, or skip them for a simpler look.
Focus on the eyes and nose—they glow nicely when you put a candle or LED inside. Try different shapes until you find a style you like.
Circles give you a cute cat, while slanted eyes look a bit more mysterious. Either way, it’s a beginner-friendly pumpkin that still feels festive.
Create a pumpkin stack with painted cat faces on each for a cute Halloween centerpiece
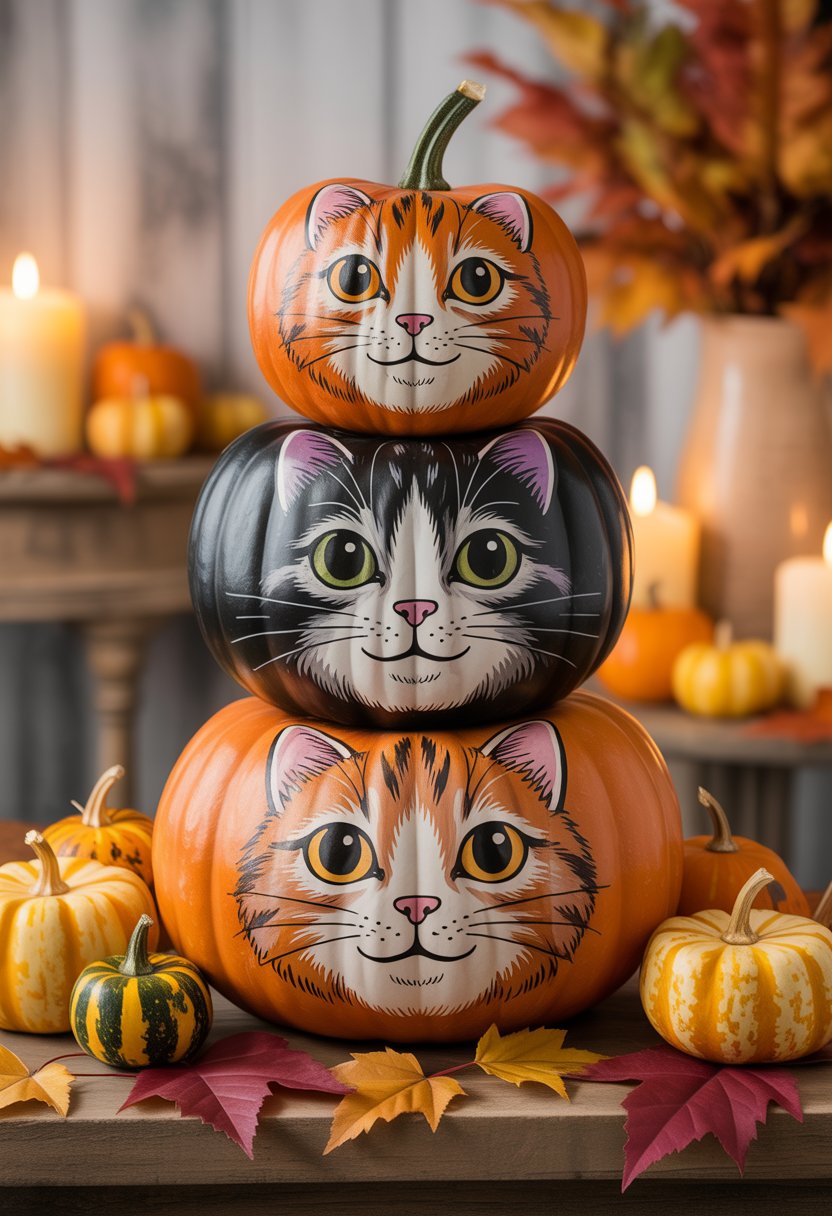
Stack a few pumpkins and paint a cat face on each for a fun centerpiece. It’s simple but grabs attention—perfect for a table, porch, or entryway.
Pick three or four pumpkins in different sizes for a balanced stack. Clean and dry them before painting.
Use acrylic paint or paint pens to draw cat faces. Change up the eye shapes, whiskers, or colors for each one.
Once the paint dries, stack the pumpkins with the biggest on the bottom. Wooden skewers or toothpicks help keep them steady.
Add painted paw prints or tiny cardboard ears for extra personality. Place your finished stack wherever you want a playful touch.
Use stencils to carve detailed cat patterns like sitting or stretching cats
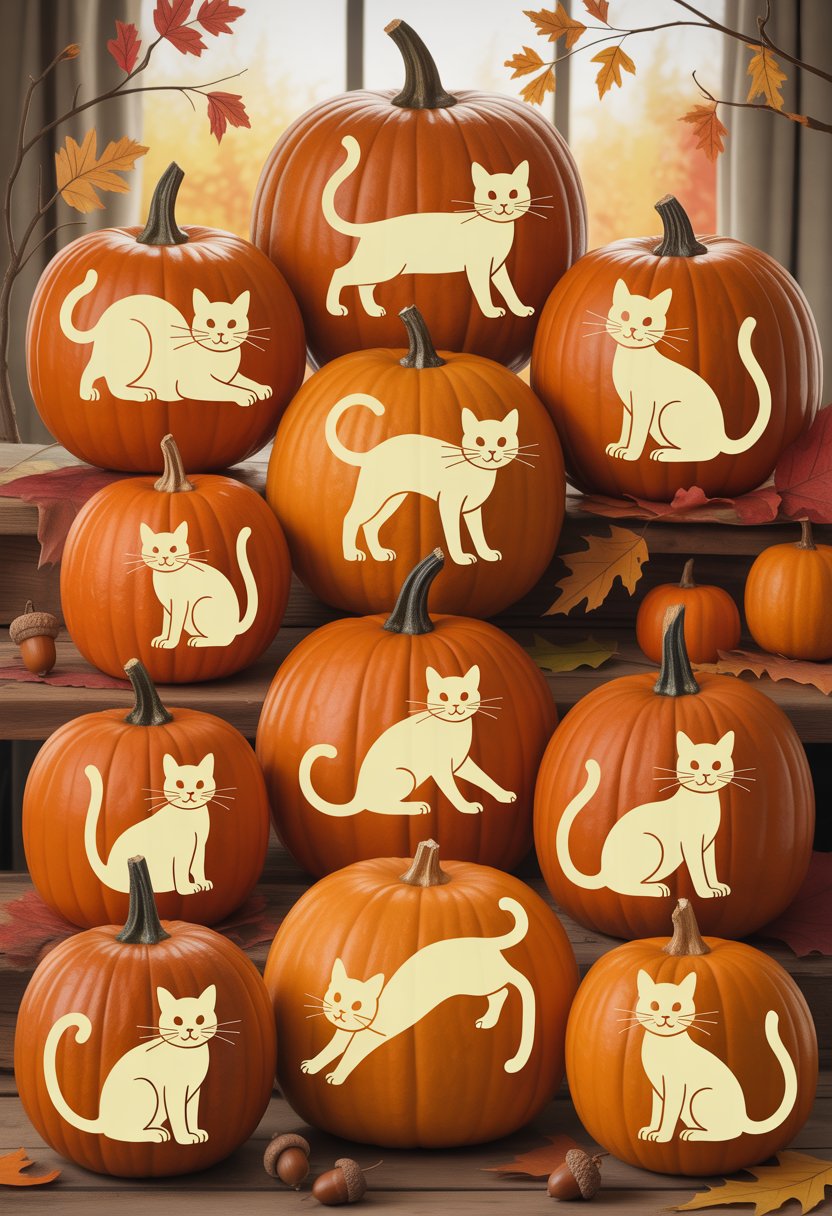
Make your pumpkin stand out by using cat stencils. Stencils guide your carving, so you don’t have to freehand tricky shapes.
Try a simple sitting cat silhouette if you’re new to carving. The outline is easy to follow and looks great when lit from inside.
Want more detail? Use a stencil of a stretching or arched-back cat. These designs add movement and personality—definitely a step above the classic jack-o’-lantern.
Find printable cat stencils online, many for free. Print one, tape it to your pumpkin, and trace the lines with a pencil or pin tool.
Once you’ve marked the outline, carve along the pattern carefully. Add little touches like a curved tail, pointed ears, or even a crescent moon for more drama.
With stencils, you have more control and can try designs that would be tough to carve freehand.
Paint pumpkins with glittery black paint and add googly eyes for a playful vibe
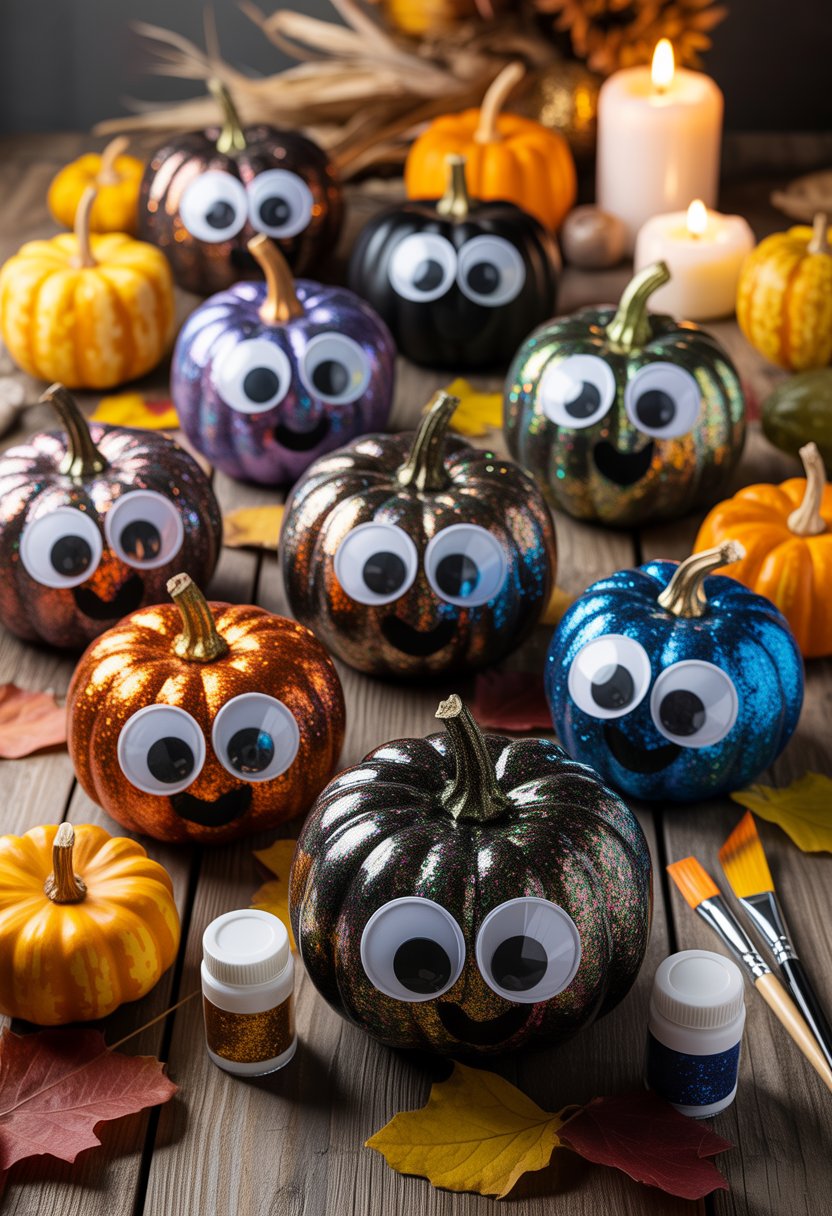
Pick a pumpkin with a smooth surface—real or fake, doesn’t matter. Wipe it down so the paint sticks.
Cover it with black acrylic paint and let it dry fully before adding a second coat. For extra shine, mix in glitter paint or brush on a glitter topcoat.
Once it’s dry, grab some googly eyes in different sizes. Use craft glue or a hot glue gun to stick them on.
Cluster the eyes for a silly look or spread them out for something a bit quirky. Cover the whole pumpkin or just one side—up to you.
Try adding a cluster near the top to make a goofy face. The shiny black paint and wiggly eyes make the pumpkin playful without much effort.
This no-carve idea is quick, mess-free, and easy to customize. Let kids help place the eyes for a fun family project.
Make a pumpkin cat garland by painting mini pumpkins and stringing them together
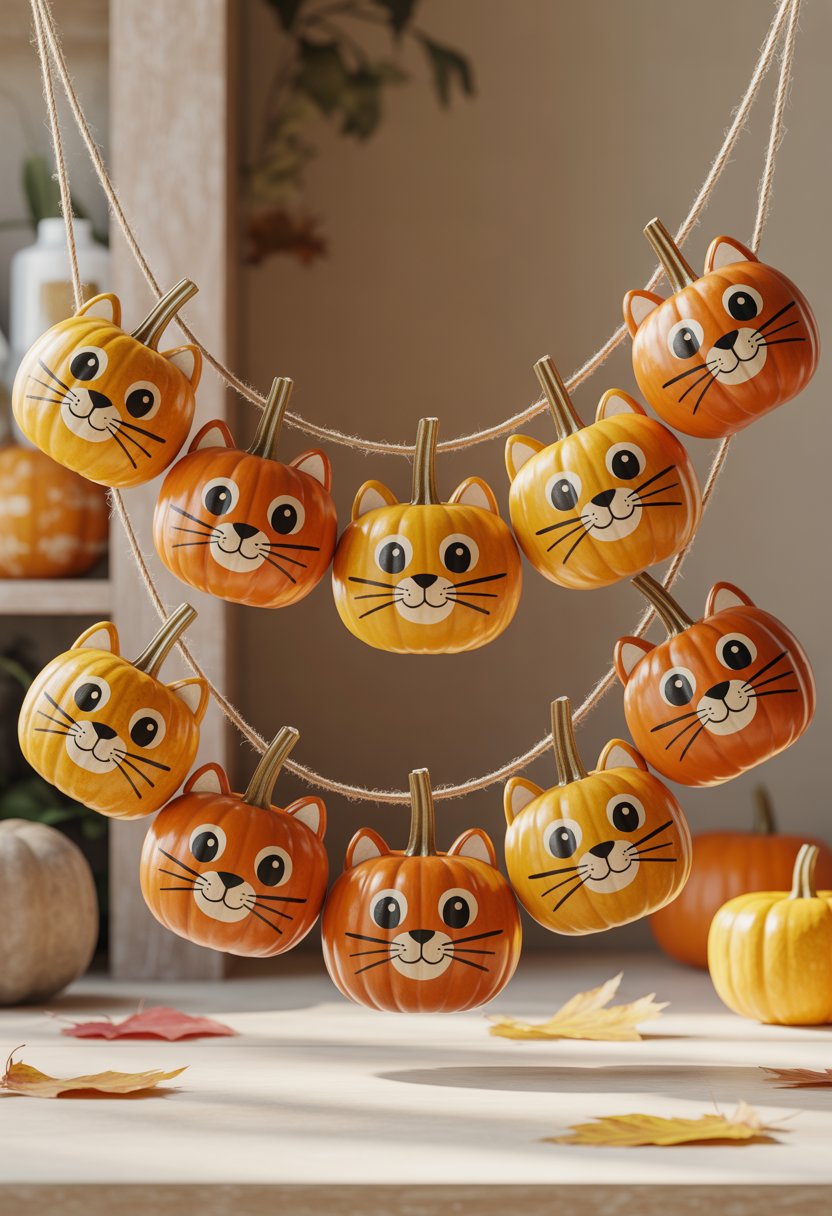
Turn mini pumpkins into a playful cat garland with some paint and twine. Pick small pumpkins that are light enough to hang—real or faux both work, but faux lasts longer.
Paint each pumpkin with a solid base color like black, white, or orange. Once dry, add cat features: eyes, whiskers, and ears.
Cut ears from cardboard or felt and glue them on. Thread jute twine or string through the stems, or tie around them if the stems are short.
Space the pumpkins evenly so they don’t bump into each other. Hang your garland across a mantel, doorway, or window.
It adds a fun Halloween touch without being complicated. Mix in plain painted pumpkins between the cat faces for a bit of variety.
Essential Materials for Pumpkin Cat Crafts
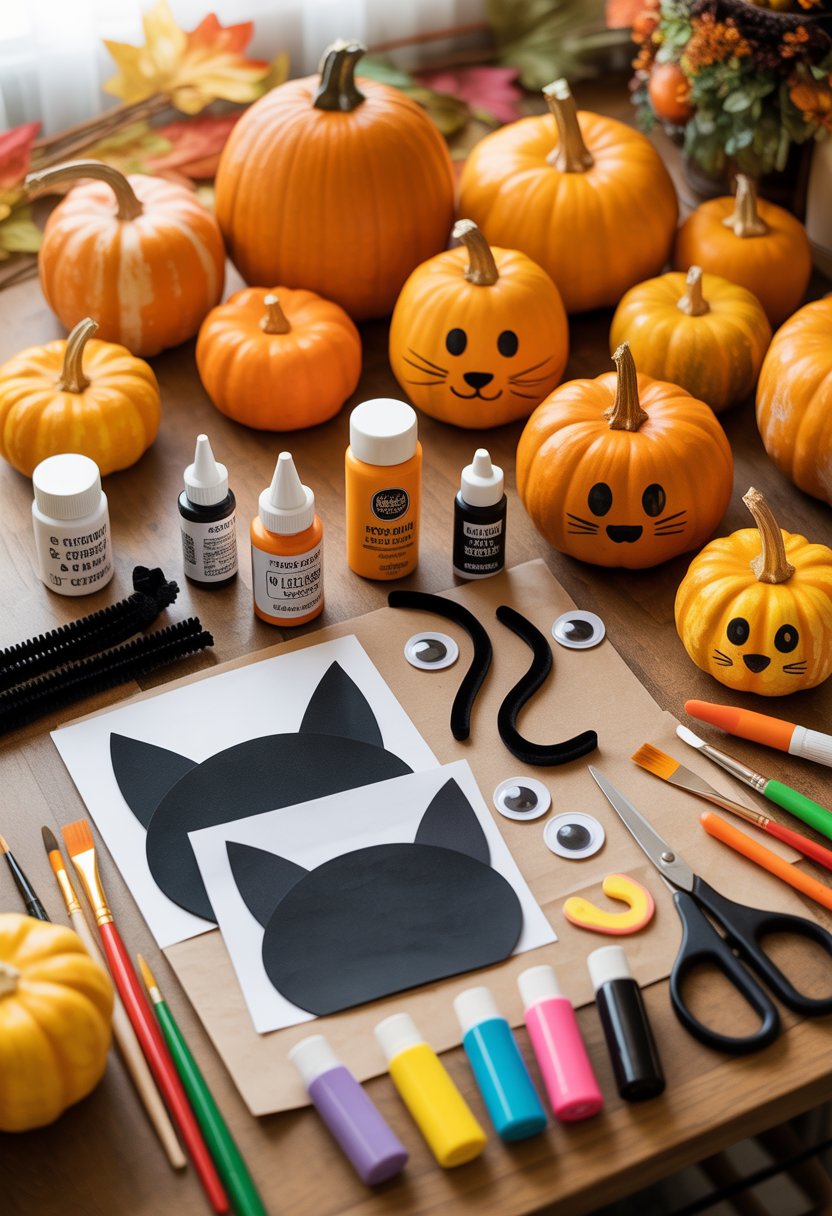
You’ll want the right pumpkins, a few basic tools, and some safe practices if you want your cat-themed pumpkins to look neat and last longer. Paying attention to size, surface, and safety makes everything easier—and honestly, more fun.
Choosing the Right Pumpkins
Pick pumpkins that fit what you want to make. For carving, go for medium or large pumpkins with smooth, flat sides. That way, you’ve got space to cut clean shapes.
If you’re painting or gluing, smaller pumpkins—or even plastic craft pumpkins—work just fine. Before you buy, check that the pumpkin feels firm. Soft spots mean it probably won’t last, and nobody wants a collapsed pumpkin after all that work.
A sturdy stem helps too, since you can use it as a handle. If you hope to keep your project around after Halloween, foam or plastic pumpkins are a smart move. They don’t rot, and you can just stash them for next year.
Crafting Tools and Supplies
Gather the right tools to keep things simple. For carving, grab a pumpkin carving kit or a small serrated knife, plus a spoon or scoop to clean out the inside.
For no-carve options, collect paint, markers, glue, felt, pipe cleaners, and googly eyes. Here’s a quick list you might want to have on hand:
- Cutting tools: carving knife, craft knife, or pumpkin saw
- Decorating supplies: acrylic paint, spray paint, or markers
- Details: felt, fabric, ribbon, or paper for ears and whiskers
- Adhesives: hot glue gun or craft glue
- Extras: glitter, stickers, or stencils
Keep some paper towels and a trash bag nearby for easy cleanup.
Safe Crafting Tips for All Ages
Let adults do the carving—those tools are sharp. Kids can get in on the fun by painting, gluing, or sticking on decorations.
Work on a flat, steady surface to avoid accidents. If you’re using a hot glue gun, remind kids to keep their hands away from the tip and melted glue.
For little ones, swap in school glue or tape. If you’re carving, cut slowly and keep your hands dry to avoid slips. For no-carve crafts, stick with non-toxic paints and markers so kids can help decorate safely.
Creative Ways to Display Your Pumpkin Cat Creations
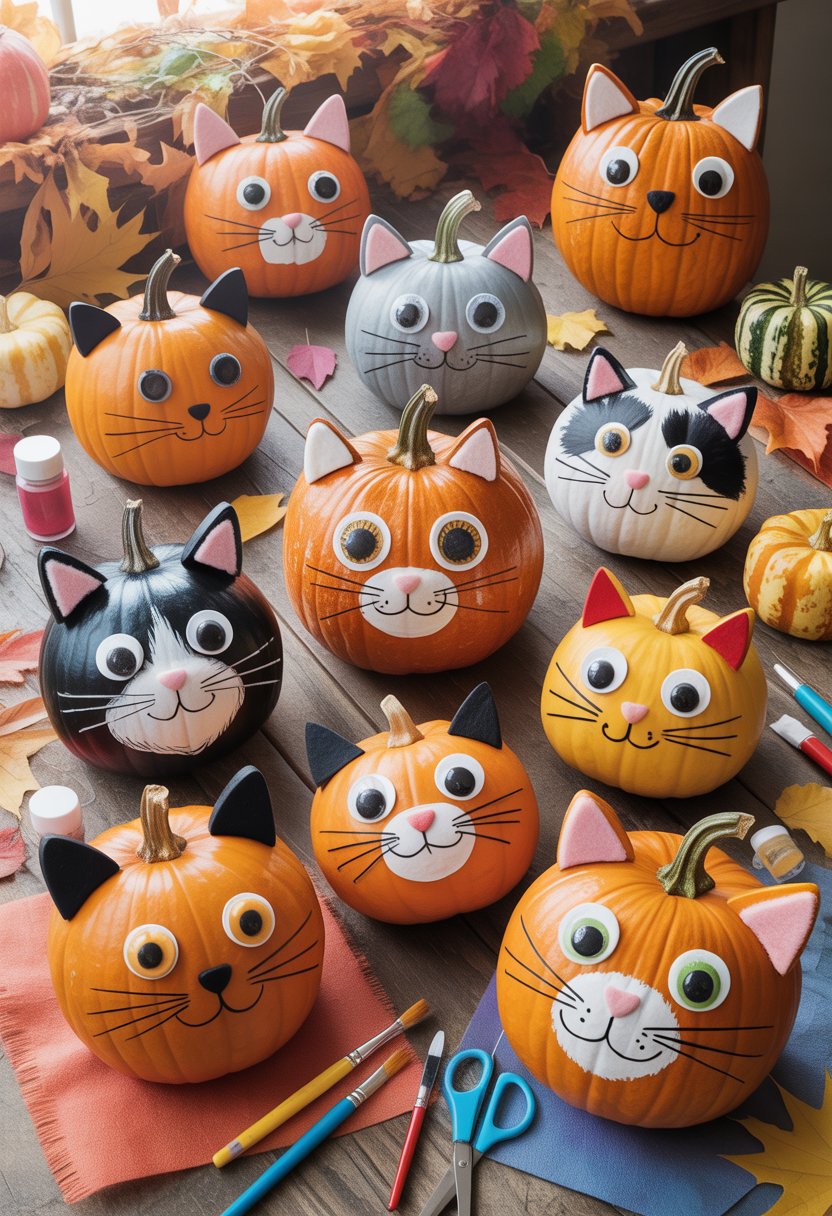
You can make your pumpkin cats pop by choosing the right spot and adding details that fit the space. Think about lighting, surfaces, and how long you want your display to last.
Indoor Decor Ideas
Try putting your pumpkin cats on mantels, shelves, or entryway tables where people will actually see them. Pair them with candles, fairy lights, or a bowl of candy to pull together a Halloween vibe.
If you’ve got kids or pets running around, go for painted pumpkins instead of carved ones. They last longer inside and don’t make a mess.
Mini pumpkins are great for tight spots like bookshelves or desks. Group pumpkins in odd numbers, like three or five, for a look that feels balanced but not too perfect.
Mix in fall touches—pinecones, faux leaves, or a plaid table runner. It keeps things cozy but still lets your cat-themed creations stand out.
Outdoor Placement and Weatherproofing
Put your pumpkin cats on porches, steps, or garden edges so people spot them right away. Try lanterns, LED lights, or even glow sticks inside the carved pumpkins to light up your designs after dark.
Spray a light coat of clear acrylic sealer or rub petroleum jelly on the cut edges to keep rain and pests at bay. That little bit of effort slows down rotting and helps your pumpkins stick around longer outside.
If wind’s a problem where you live, set your pumpkins on sturdy surfaces or drop in some small weights to keep them steady. Plastic or foam craft pumpkins work too—they won’t spoil and you can pull them out again next year, hassle-free.

